Changing your hair color is one of those steps that will always come up in a woman’s life sooner or later, whether it is to cover gray hair or to transform your hair by changing its appearance. Even if it is an emergency where you have to stay home, you can still have fun and experiment by dying your hair yourself. If you follow the instructions below carefully and know a few practical tips, you can get a beauty parlor-like result!
Want to give it a try? Let’s get into it!
How to Choose the Right Color for Dyeing
First, think about whether you want to darken or lighten your hair. It is much easier to darken your hair but on the other hand, to apply a very light color perfectly, you need to bleach your hair first. Bleaching is an aggressive process that strips the melanin from your hair and turns it gray, which is not easy to do, especially for beginners.
Our advice, however, is to choose a color that is at most two tones lighter or darker than your own color for a natural, fail-safe effect. For example, highlighting or toning dyes can cover the first gray hairs and give light and shade without distorting the color.
Tips to Dye Your Hair Perfectly
When buying dyes, you will often notice two numbers on the box (e.g., Blonde 9.1). The first number shows the color scale (1 is black, 2 is brown, 3 is dark brown, and gradually goes up to 10 or platinum). The second number represents the color shade (1 ash, 2 iridescent, 3 golden, 4 copper, 5 mahogany, 6 red, 7 green with reddish brown contrast, 8 blue cools down heavy reds and blondes).
You have to be extra careful if you have previously colored your hair with vegetable dyes (henna), as they are often incompatible with oxidized colors. Ideally, wait at least six weeks and do not bleach.
Use dyes safely: Always test your hair for allergies before applying dyes to it. Also, never use dyes on irritated or sensitive skin.
Don’t wash your hair before dyeing. Ideally, you should wait for a few days after your last wash, but one day is fine, especially if you have oily hair.
Protect your skin from dyeing: Before you start dyeing your hair at home, remember to apply a greasy cream to your face, ears, and hairline skin in general to avoid unsightly stains and skin irritation.

How to Apply the Dye, Step by Step
To dye your hair at home, you will need the following:
-A plastic cape or black towel to protect your clothes
-Disposable gloves
-A comb;
-Newspapers to lay on the floor, especially if you are a beginner and afraid of making a mess in the bathroom.
-Disposable caps.
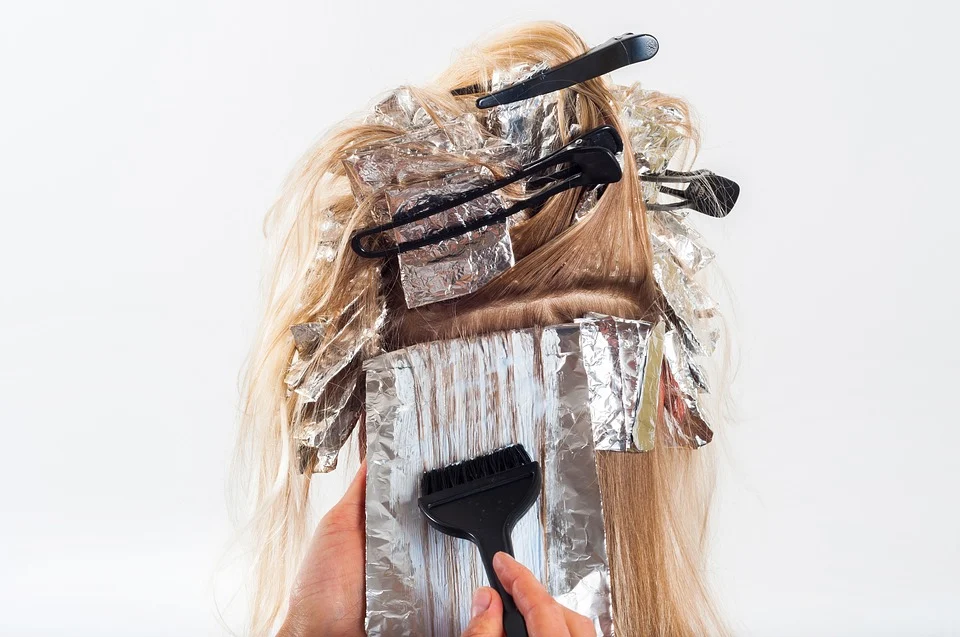
Once the colors are ready, put on the gloves and proceed with the application. Start from the roots. Divide your hair into four sections and apply the product directly to the entire root, either by fining each section or by using a comb to separate the hair and make sure the product is well distributed.
Once the dye has been distributed to the roots, adjust the length of the hair towards the ends. After applying the product to the entire hair, comb or massage the hair to ensure that the product is well distributed and the dye is in place within the time stated on the package. If you have long hair, you may want to put it in a bun and wear a disposable cap to prevent stains.
At the end of the exposure time, still using gloves, add a small amount of lukewarm water, massage the roots, rinse the entire hair with plenty of water until the water runs clear and no color remains. At this point, to nourish the hair and maximize the color highlights, apply a color sublimation treatment (usually included in the pack) or a post-coloring conditioner, massage for a long time, then leave as directed and rinse well.
Let us know how your hair dye process went by in the comments below!


